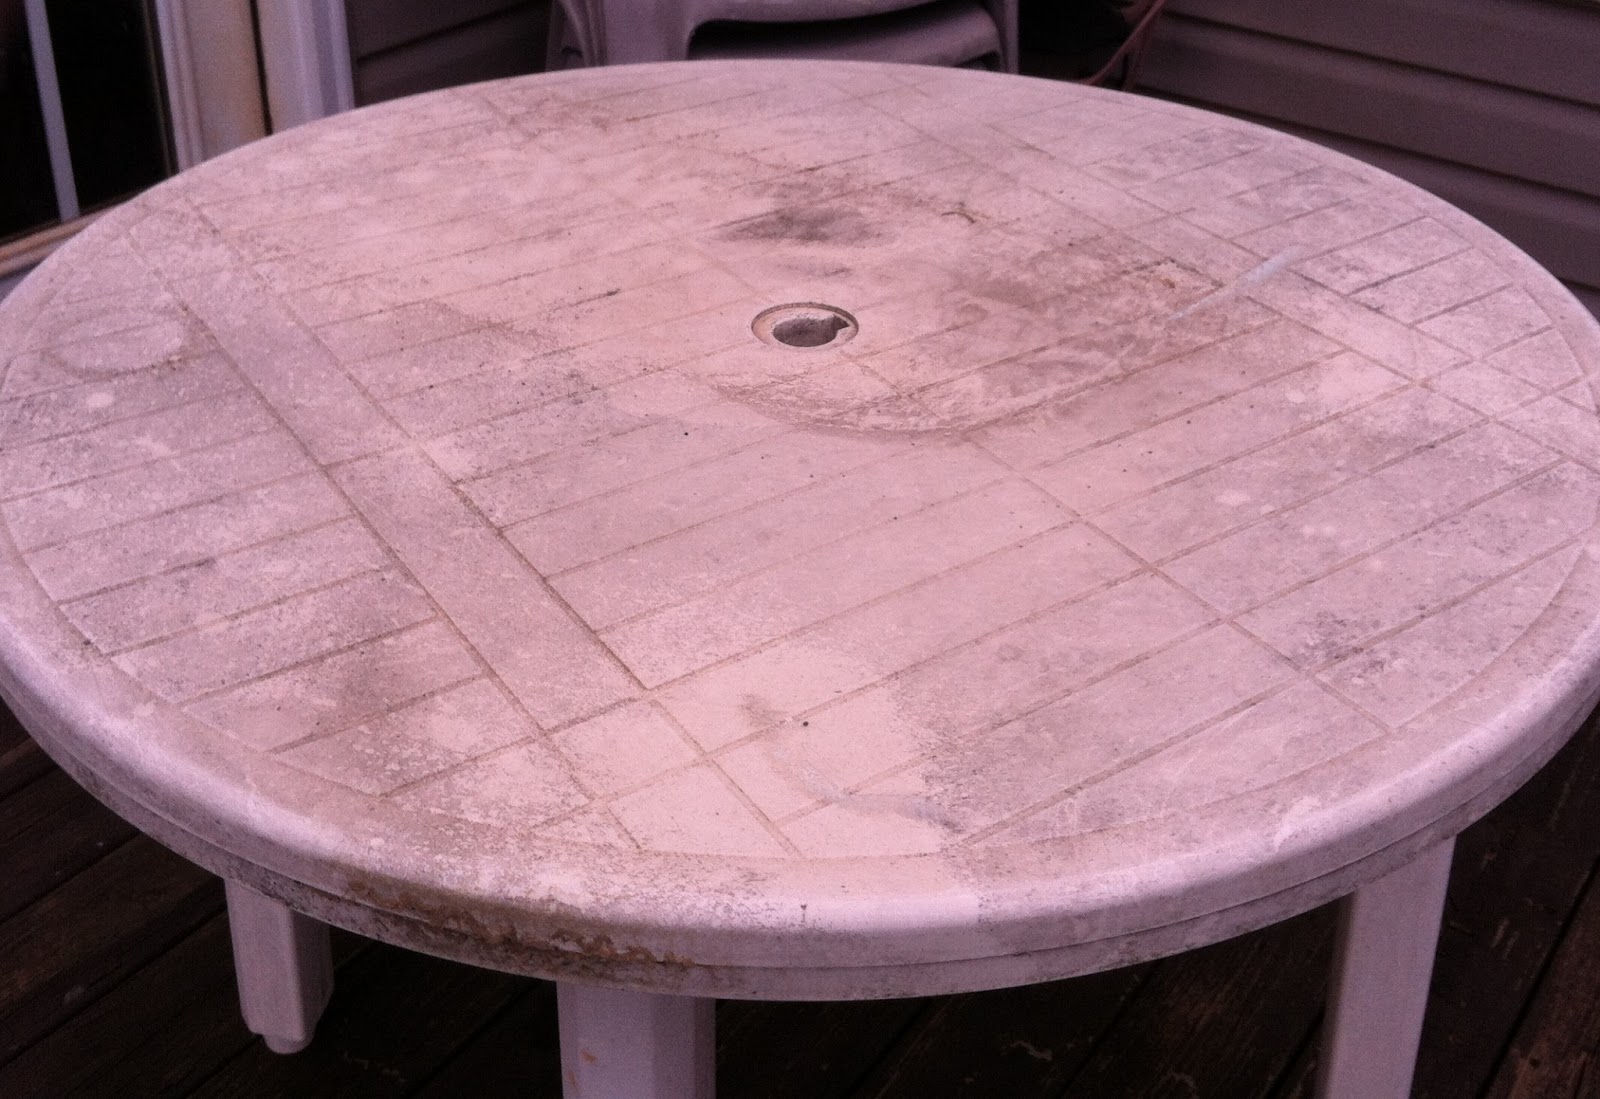
Oh wait, you need a closer look at this....
Yep, That's her white table! All it really needed was a REALLY good scrubbing and some new paint. And then, LOOK, nearly good as new!
If you are planning to paint your plastic patio furniture, be sure to check out my tips section below before you get started. It could save you a bit of time. And speaking of painting patio furniture...
This fabulous little seating area was created using two chairs that were rusting and looking nearly abandoned down by the pond that my dad built years ago, stone by stone. Check these bad boys out:
That's not dirt on the arm rest. Yes, I went to the painstaking process of taping these off in preparation for repainting them - check it out below.
And then there's this Mosquito Breeding Pond:
At one time this was an actual flower pot with real living plants in it. But over time it became a mosquito breeding pond that mom would go out and empty after each rain storm...sometimes. It really only needed to be emptied one last time and then drilled with water drainage holes, like this:
Easy Peasy, right? All that was left was to add some soil (of course, I tossed in some plastic water bottles and pill bottles to the bottom to lighten the load a bit) and pretty flowers:
Much better than before and it only took a few minutes!
Okay, if you're going to tackle some outdoor furniture painting, let me share a few pearls of wisdom with you. Just to save you a whole lot of time and frustration.
First of all, set aside some time to clean your furniture really well. I didn't expect it to take me two hours to clean that plastic furniture but it did. Nothing is more frustrating to me than a project that takes WAY longer than I expected.
 |
| One Down and Three to Go...Plus a Table! |
If you're painting chairs that have any sort of fabric on them, you'll need to fully protect and tape off those parts of the furniture. Check out my masterpiece:
I found it easier to apply a border of tape around the perimeter of the fabric in every spot that it met up with metal that needed painting BEFORE applying any paper. Then I was sure that there wouldn't be any accidents before laying the paper down. Once you've covered your fabric with paper, be sure to seal any spots where two sheets of paper meet. If you're using spray paint and you skip this step you're sure to be disappointed when you see that the over spray discolored your fabric.
And my final tip....have a pop up tent handy in case of rain. My painting projects kept getting delayed due to rain in the forecast. Then finally, only 4 days until Mother's Day we had a beautiful sunny day without a stitch of rain in the forecast. So, what do you think happened as the paint for my last coat on the plastic chairs was coming out of the can? Yep, it started to rain threatening to ruin my still wet paint job. I scurried to the garage to grab the not so easy up tent that I use for fairs and festivals just in time to save the day's work from the brief rain shower as it passed through my back yard.
It may sound like a lot of work and I'm not going to lie it can be a pain in the rear but just think of the landfill material you just saved. Not only that but you saved a whole lot of natural resources by not buying new. So have at it, go fix some stuff!


I love it that you're so crafty! I didn't even know you could paint plastic. I'm about to re-do the stain on our Adirondack chairs. It'll be my first time trying such a thing. :)
ReplyDeleteThanks, Rosey! You can paint plastic with a spray paint that is made just for that purpose. Have fun with the staining!
DeleteWould love for you to share this at my link up where we pin all those you join to our party board
ReplyDeletehttp://myfashionforwardblog.com/2013/05/30/all-things-pretty-10/
As long as they’re still sturdy, it would be worth cleaning and restoring. And I like that they look great with the house’s sidings. And that small table by the sitting area looks amazing! The wheel’s a nice touch.
ReplyDeleteTerence @ The Fidus Group
I have to remember that plastic bottle in pots trick. It would definitely lighten the load, and I tend to move pots around whenever the mood to reorganize strikes me. And I totally agree with you on outdoor furniture. If they’re only showing little wear after all those years outside your home, chances are with a little coat of paint, they’ll last you another few years.
ReplyDeleteNida
So many times I read articles and cannot find any useful facts. Thank you for providing such useful facts. There is another place i found useful information https://conservationconstructionofdallas.com/request-a-quote/ and i think people could also get some useful information here. I can’t wait to read more. I’ll definitely be back daily to see what new info I can learn from your website.
ReplyDelete