Pages

Showing posts with label upcycled pet. Show all posts

Thursday, February 12, 2015

How to Make a Rose from a T-shirt

I have a super quick project made from old T-shirts for you today.  I'm going to show you THREE different ways to use these fun flowers.


As seen here, this T-shirt Flower has been added to a dog collar for a unique way to dress up your pooch whether it be for the upcoming Valentine's Day holiday or for everyday wear.


If it's a child you're looking to dress up, I'll show you how to easily turn the same flower into a hair clip like this one:


And finally, if it's a special treat for you that you're looking for.  We'll add a pin back so that you can wear a pretty rose on your jacket, blouse or handbag:


You can hop over to my YouTube Channel to see the full instructions for making these sweet (not to mention simple) flowers.

Tuesday, December 11, 2012

How to Make a Sweater Dress for Your Dog ... From Your Old Sweater!

Today Miss Bella is modeling a very eco-chic sweater dress that has taken a bit of a walk on the wild side.  This mint green dress was fashioned from the sleeve of an old sweater and embellished with a zebra striped ruffle.  It's the party dress that every girl needs this holiday season.  Here's how to get yours...well MAKE yours:

First gather your supplies:
  • Old Sweater
  • Something to sew with (preferably a machine)
  • Scissors 
  • Ruffle Trim

First, cut off one of the sleeves of the sweater and make two arm holes.  Cut it just like I have it pictured, the extra "tail" of fabric will be used to attach your ruffle skirt.  You'll cut your arm holes both at the same time while the sleeve is folded as it is in the first picture below.  This will ensure that your arm holes are the same size...kinda.

Then zig zag stitch over your cuts to keep the seams from unraveling.  It's not an easy feat and if you tug too much as your sweater feeds under the sewing machine foot you'll have some wonky looking armholes!!  Not that I know from experience or anything...


Now for the cutie patootie butt ruffle! Start at the bottom of your sweater dress and pinned down (then stitch) a length of ruffle into place.  Move up a bit and do another ruffle slightly overlapping the first, then another and another.  Do as many as you like, I ended on the fourth length of ruffle.


So what do you think?  Very eco-chic, adorable and simplish, right?


Totally Tutorials Blog

Wednesday, September 26, 2012

The Danger of Making Pet Toys

Oooh, that was a dramatic statement wasn't it?!  When mom and dad opened their pet shop a couple of months ago I went to work designing some upcycled pet toys to "fill up them shelves."  Which led to a few new items in my own shop:

Kitty Kick Sticks constructed from Hideous Ladies Pants

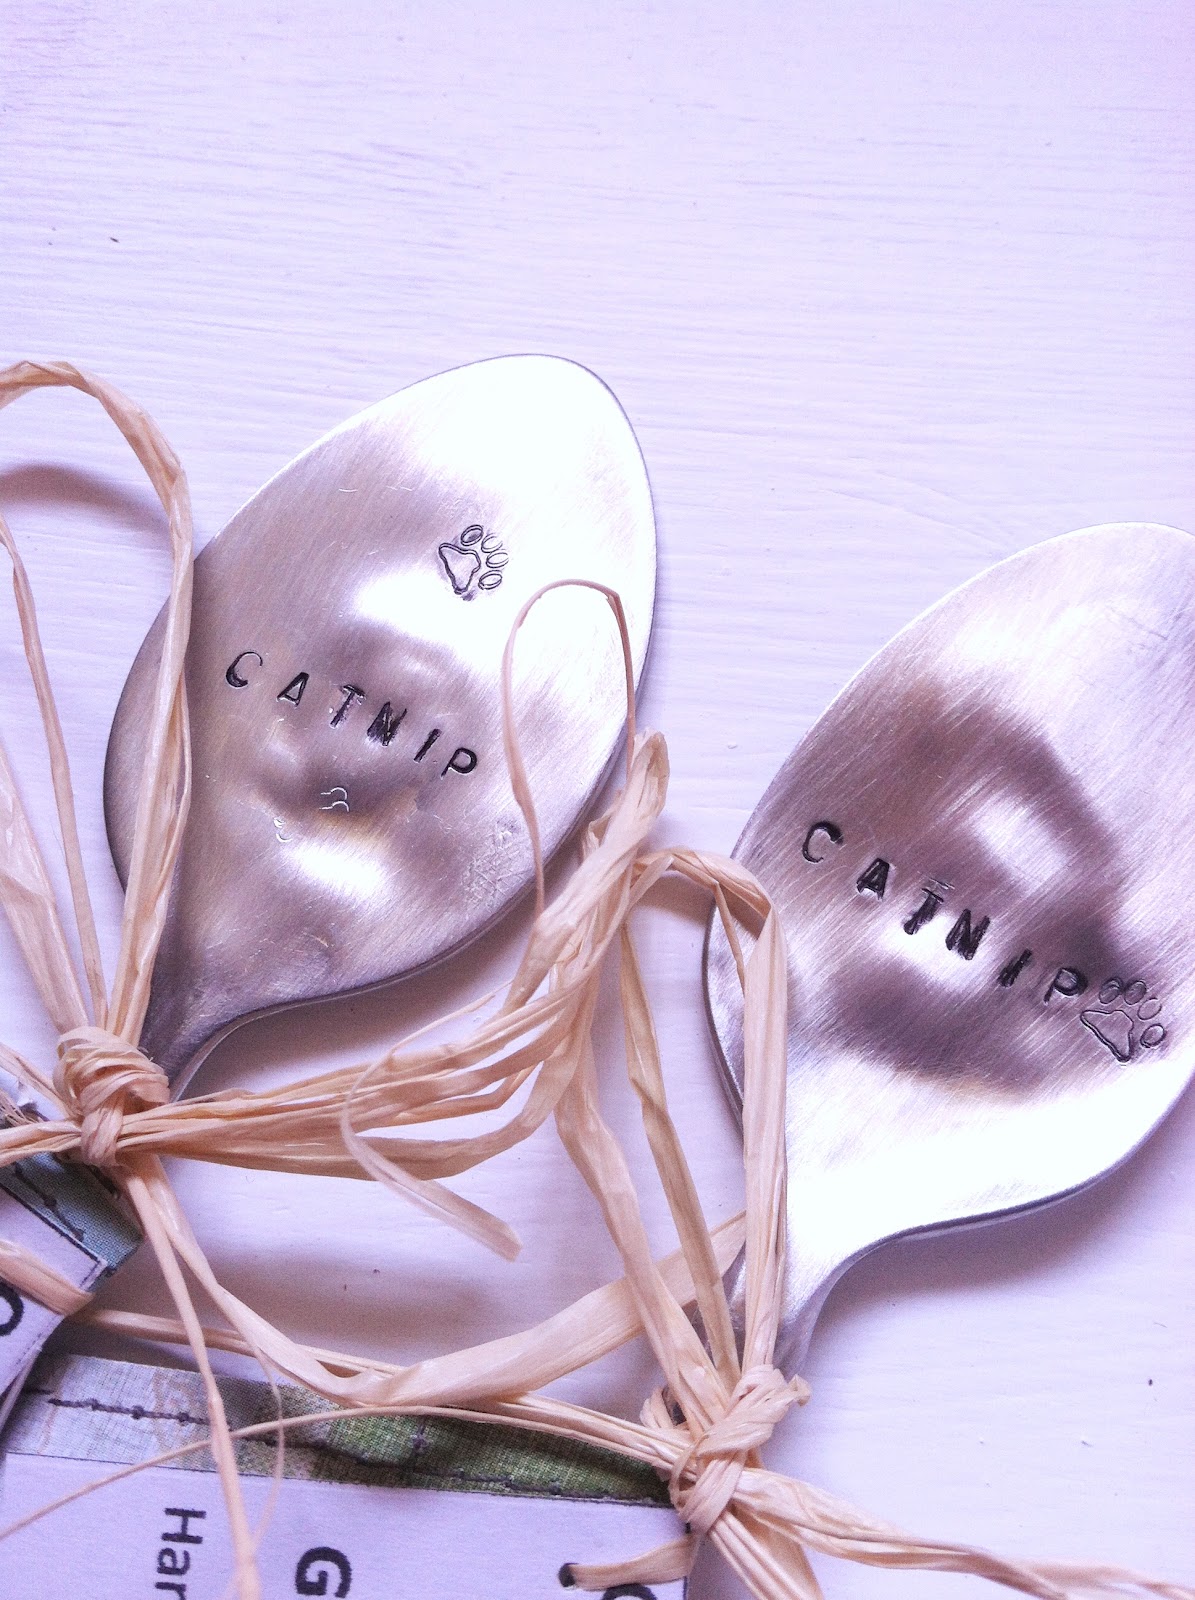
Organic Catnip Seeds and Garden Markers from old Spoons
The danger, however, occurs when you are making toys for creatures not unlike those with whom you share your own home.  You see, I also had this listed:


Obviously, I had to delist this item from my shop when Destiny staked her claim to it!  Sadly, there were actually two of these baskets at Goodwill and I only purchased this one as the second had two broken pieces...very small breaks that would have been just fine for my own personal use.  But, alas, I was not using my brain on this particular day and didn't have the forethought to see that I would indeed have a use for it in the very near future!

At any rate, Chance has also taken a liking to my catnip plant...the one that I was growing for display at craft fairs.  Every now and again I let my two most eldest cats out to enjoy a view of the nieghborhood:

Aren't they so well behaved? HA!
Well, I've been growing aforementioned catnip on this very same porch in little pot.  It's still just a baby but apparently just as potent as its adult counterpart.  This is what I saw just a couple of days ago:

Followed by a rather innocent, "what mommy? I was just rolling around in the pretty flowers in your garden.  I didn't take a huge bite right from the center of your plant!

So you see, the danger is that you stand to loose a bunch of product before it can make it into the hands of a customer.  So crafters beware and heed my warning in advance:  Make two of everything and save yourself a little frustration!


www.wholesalehalloweencostumes.com

Tuesday, August 28, 2012

Upcycled Pet Stuff

If you ever find yourself in Taylors, South Carolina be on the lookout for a little shop called Pet Paw-Teek.  Then swing by and say "hi" to my mom and dad.  They just opened a modest little pet shop and I'm helping to stock the shelves with a variety of upcycled pet items.  Check out some of stuff I just popped in the mail.

Kick sticks made with organic cat nip and hideous ladies pants (no joke - these REALLY were ladies pants):


I had to give up the kick sticks with huge fish all over them because....well, they kept disappearing as I made them.  I mean, would YOU tell her she couldn't have it....


T-shirt braids, kinda like those fishing pole toys


Organic catnip seeds with an Old Spoon Garden Marker


Unfortunately, I'm not close enough to give her one of my upcycled pet beds.  This one is an old Goodwill coffee table and scrap bead board and molding that I picked up on a Freecycle.  The cushion portion is patchwork of old jeans.   I was going for shabby chic...did it work?

Tuesday, March 13, 2012

An Upcycled Dog Bed for Naughty Kitties

Did you catch that? A dog bed for the kitties? Well, sort of.  I was forced to make my little man a new bed because I have such naughty kitties!  The kind that have tempertantrums when I come home from a few days away for work or won't let them go outside or when they are jealous of Chico.  They take no pause in showing their displeasure  while I watch them take it out on Chico's things.  Chico used to have a very nice, plush bed that came with him when he first "moved in."  But the constant marking (by the kitties) and then washing of said bed left it quite lumpy and misshapen.  It also didn't wash very well as it was quite large. 

So I came up with another solution.  Now, I know it doesn't look like much but there's a hidden secret in that bed!  First of all, I hate to sew so this had to be near to no-sew!  Secondly, it had to be easy to clean. And finally, it had to be upcycled!  I accomplished all three of these things with an old toss pillow, fused plastic grocery bags and some liquid stitch.

Here are the supplies you'll need to create one of your own:
1.  An old toss pillow, couch cushion, etc. with a zipper
2.  Several plastic grocery bags
3.  Iron
4.  Parchment or wax paper
5.  Felt (Eco-fi is made from recycled plastic bottles) and other embellishments
6.  Sewing Machine
7.  Liquid Stitch


The first thing that you want to do is make your fused plastic material.  There are plenty of tutorials on the web for fusing plastic so I will not go into that here, but here's one from Etsy.  I will note that to make one long continuous piece you can take the edges of several layers and weave them amongst each other as the picture shows.  Once you have your continuous piece fused together you'll want to measuure out two pieces that can be sewn together to form the internal pillow.  Don't forget to add a seam allowance. 

Right about now you're probably wondering why I'm going to all this trouble fusing plastic and sewing together a pillow.  Remember the bad kitties?  This plastic pillow will allow me to clean the surface of the pillow without putting it in the washing machine while it protects the internal fibers from holding onto any displeasing aromas and liquids.  All I have to put into the washing machine now is the slip cover. 


Now put your two pieces together and sew three sides of the "plabric" together.  Continue sewing on the fourth side but only go about half way. Turn your plastic pouch inside out so your seam is on the inside.


Now fill 'er up and sew it shut....you may want to use a needle and thread to finish up the opening.


Now you can cut up some felt or scrap fabric pieces and "stitch" it to the pillow with Liquid Stitch.


I will admit that this is my fist time using Liquid stitch and I was a little skeptical of it's promise to hold up in the laundry. So once I slathered on the glue and placed all of my pieces, I covered it with a piece of wax paper and put a book on top of it for a couple of hours just to be sure. Then I let it set for 24 hours as the package instructed. It seems like a nice bond but the first tempertantrum will be the true test.


Related Posts Plugin for WordPress, Blogger...